
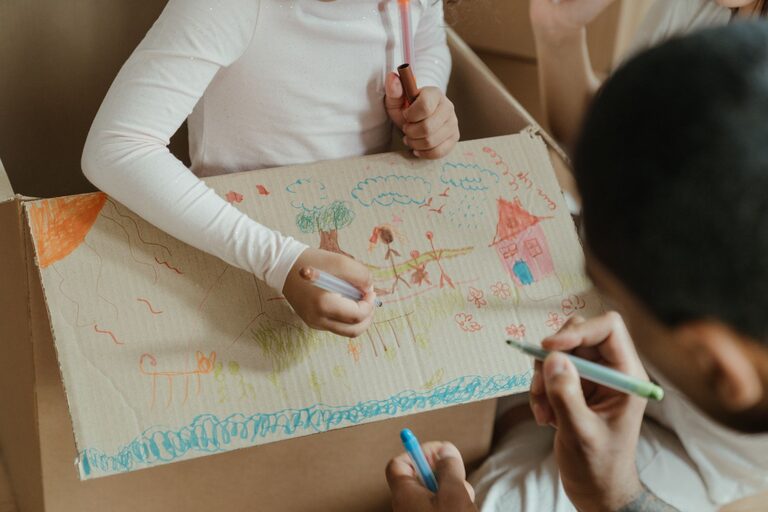
Every parent cherishes the colorful masterpieces their children create. From finger paintings to school projects, kids’ art brings joy and memories. However, as these collections grow, they can quickly take over your fridge, drawers, and countertops. Keeping kids’ art organized doesn’t have to be a daunting task. With some thoughtful strategies, you can preserve your child’s creative journey while maintaining order at home.
In this post, you’ll find practical and creative tips to organize, store, and display your kids’ artwork effectively.
Why Organizing Kids’ Art Matters
Before diving into tips, it helps to understand why organizing kids’ art is beneficial:
– Preserves Memories: Art documents your child’s growth and creativity.
– Reduces Clutter: Prevents piles of paper from overwhelming your space.
– Encourages Creativity: A neat space inspires more artistic expression.
– Makes Art Easy to Find: Easier to revisit favorite pieces and share with family.
Step 1: Create a Dedicated Art Space
Designate an area in your home specifically for your child’s art supplies and finished works. This could be a corner of a room, a shelf, or a drawer.
Tips for setting up the space:
– Use bins or trays to separate different supplies.
– Add a bulletin board or wall grid to hang current projects.
– Keep art tools within easy reach to encourage creativity.
Step 2: Decide What to Keep
Not every doodle or painting needs to be saved, but it can be hard to decide what to toss. Establish a system with your child to select which pieces are most meaningful.
Questions to consider:
– Does this artwork represent a special milestone or memory?
– Is it a skill or idea your child worked hard on?
– Would your child like to see it again in the future?
Encourage children to participate in the decision-making process. This teaches them organizational skills and respect for their own work.
Step 3: Use Portfolios and Storage Solutions
Investing in good storage systems makes a big difference in organizing artwork.
Storage ideas:
– Art portfolios: Large, flat folders designed for holding paper and canvas work.
– Binders with plastic sleeves: Useful for smaller or flat pieces.
– Storage boxes: Clear plastic containers make it easier to see content.
– Filing cabinets or drawers: Label folders by year or theme.
Labeling each container with dates or child’s name helps keep track over time.
Step 4: Digitize Artwork
Digital storage adds another layer of organization and preservation.
How to digitize:
– Take clear photos or scan artwork regularly.
– Organize images into folders on your computer by date or project.
– Use photo books or digital frames to showcase favorites.
Digitizing frees up physical space and protects art from damage or loss.
Step 5: Display Art Creatively
Displaying your child’s art boosts their confidence and lets the whole family enjoy their creativity.
Display ideas:
– Rotate artwork on the fridge or wall using magnets or clips.
– Create a gallery wall with frames for special pieces.
– Use wire and clips to hang multiple artworks on one wall.
– Make a dedicated art book or scrapbook.
Rotating displays keeps the art fresh and prevents overcrowding.
Step 6: Repurpose Artwork
Another fun way to manage art is by turning it into useful items or gifts.
Ideas for repurposing:
– Create greeting cards or gift wrap from drawings.
– Make calendars featuring different pieces each month.
– Cut artwork into bookmarks or magnets.
– Use fabric printing services to put art on tote bags or pillows.
This gives artwork a second life and shares your child’s creativity with others.
Step 7: Set a Routine
Maintaining organization requires consistency. Set aside time monthly or quarterly to sort new pieces, photograph them, and store or display as needed.
Tips for routine:
– Keep a basket or tray for new art to review.
– Have your child help with the organization process.
– Celebrate art “clean-up” days to make it fun.
A regular routine prevents artwork from piling up and ensures all pieces get appreciated.
Final Thoughts
Organizing your child’s artwork is not only about tidiness but also about celebrating their creativity in a thoughtful way. By creating a dedicated space, choosing what to keep, using the right storage, digitizing, displaying creatively, repurposing, and maintaining a routine, you can enjoy your child’s artistic journey without clutter.
Remember, the goal is balance—keeping enough to treasure memories, but not so much that it overwhelms your space. With these tips, you can turn your home into a gallery of cherished moments while staying neat and organized.
Happy organizing!